
When it comes to social media marketing, Facebook is on top of the list. It’s not only a great way to promote your business but also to increase awareness about the products or service you’re offering to your would-be customers.
In this article, we will guide you to create your Facebook Page.
Step#1
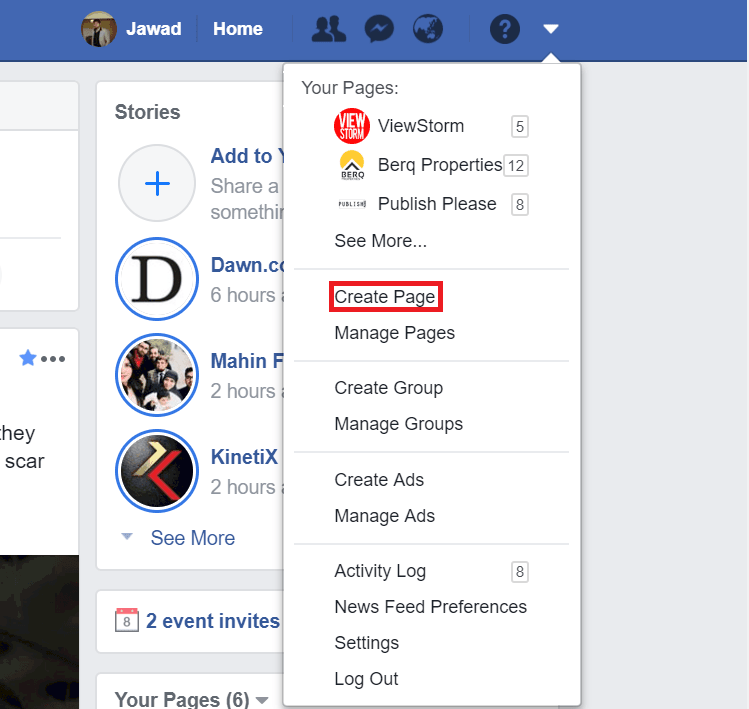
Log in to your personal Facebook account. If you don’t have one, create it first. After logging in to your account, click on the drop-down menu in the upper-right corner of any page on Facebook and go to the “Create Page” option.
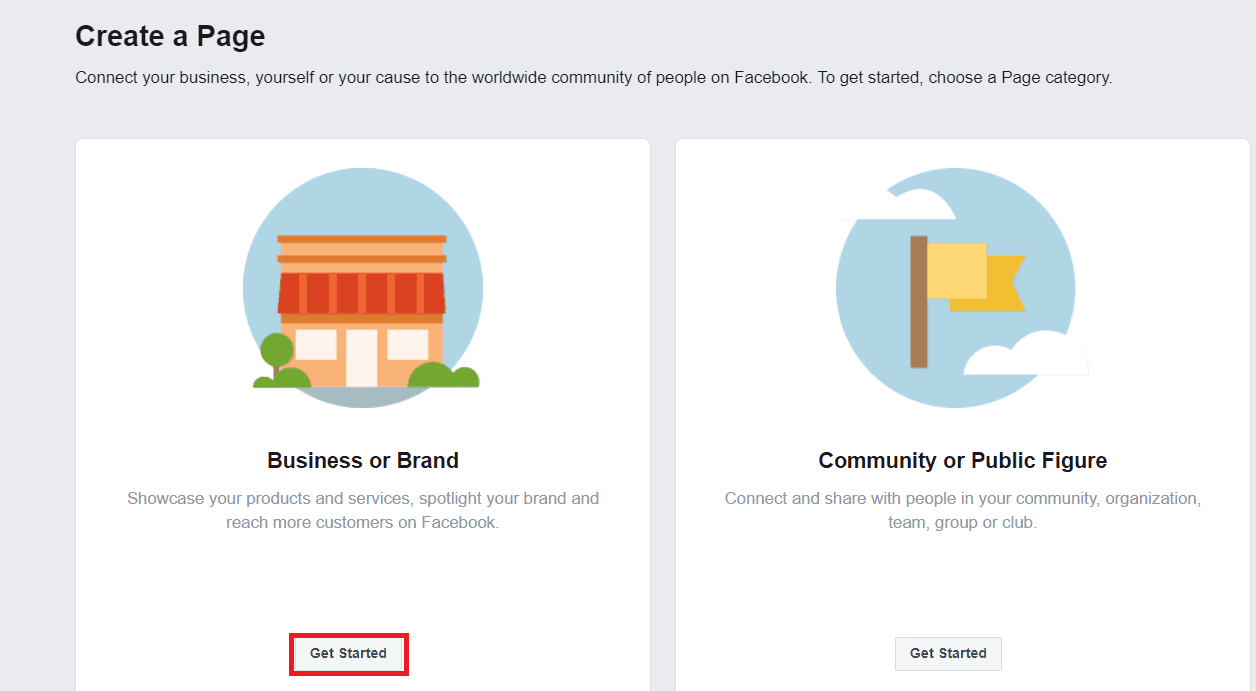
Once there, you’ll see two options on your screen – “Business or Brand” and “Community or Public Figure”. As we’re interested in creating a Facebook Page for a business, select the Business or Brand option.
Step#2
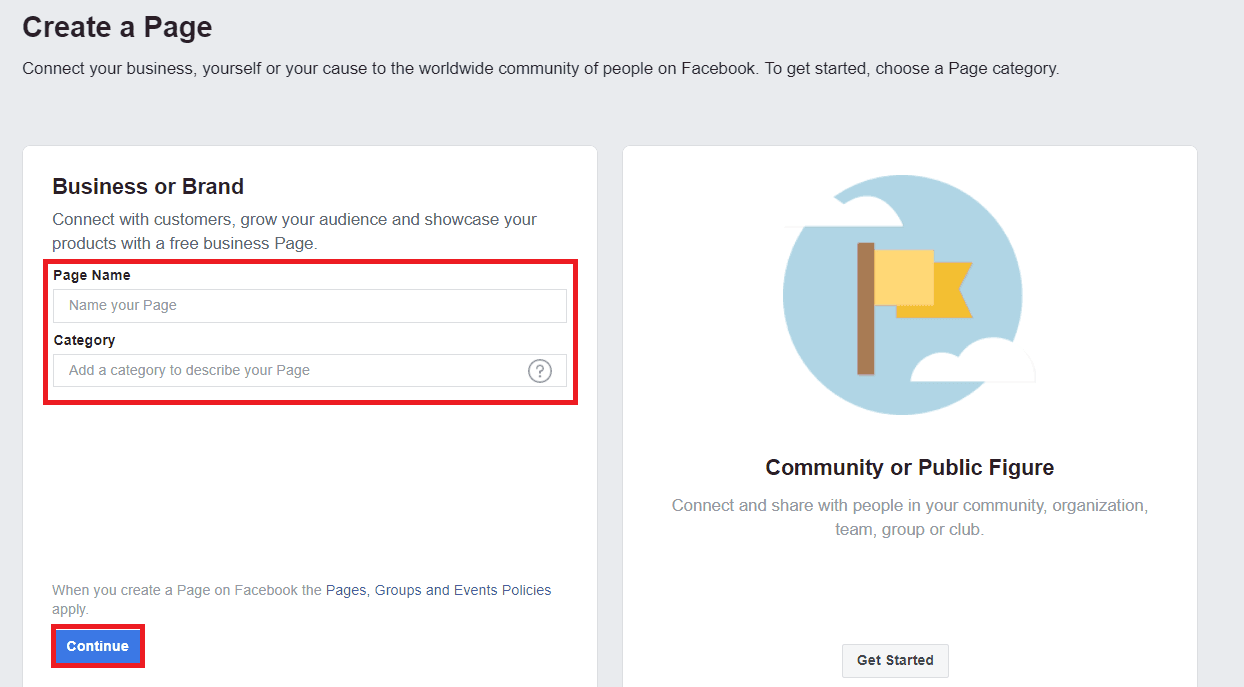
Enter your Business name, category, address and phone number (optional). Then click on ‘Continue’.
Step#3
Choose a picture as your business page profile picture. Usually, businesses use their logo as a profile picture but you may use any picture that represents your company. Make sure the image you upload is clear and doesn’t get cropped.
Here is Digitally Up’s logo as the profile picture of our Facebook Business Page.
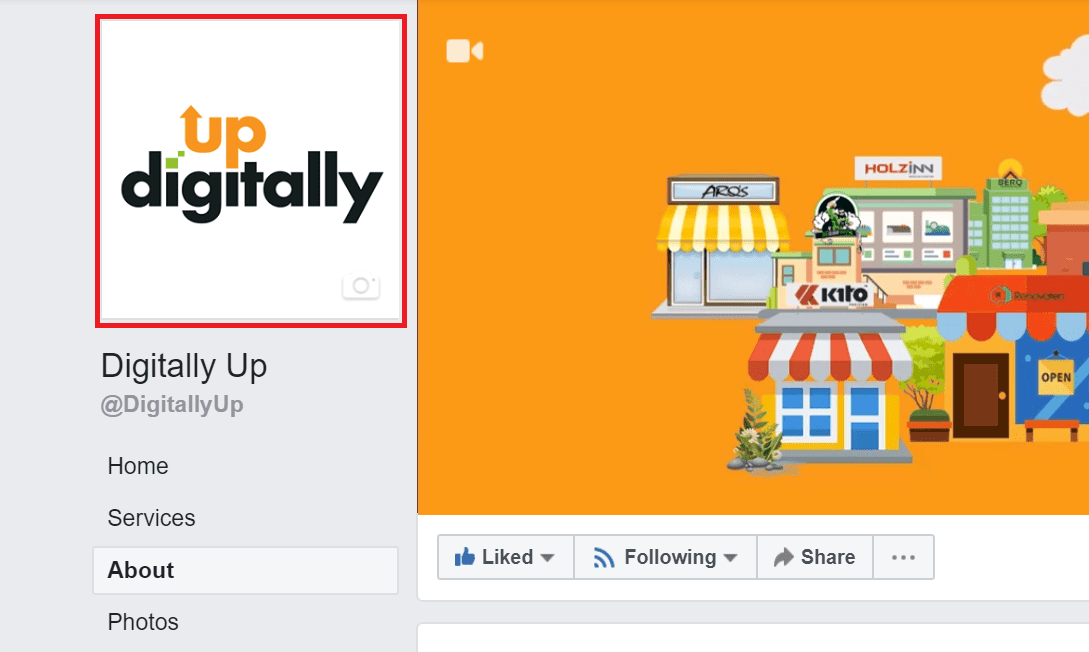
In addition to the profile picture, add a cover photo that symbolizes your business and is also visually appealing.
Step#4
Facebook has a built-in feature to invite your Facebook friends from your personal account to like your new business page. On the right side of your Page, there is a drop-down menu right next to ‘share’, click on and go to ‘invite friends’.
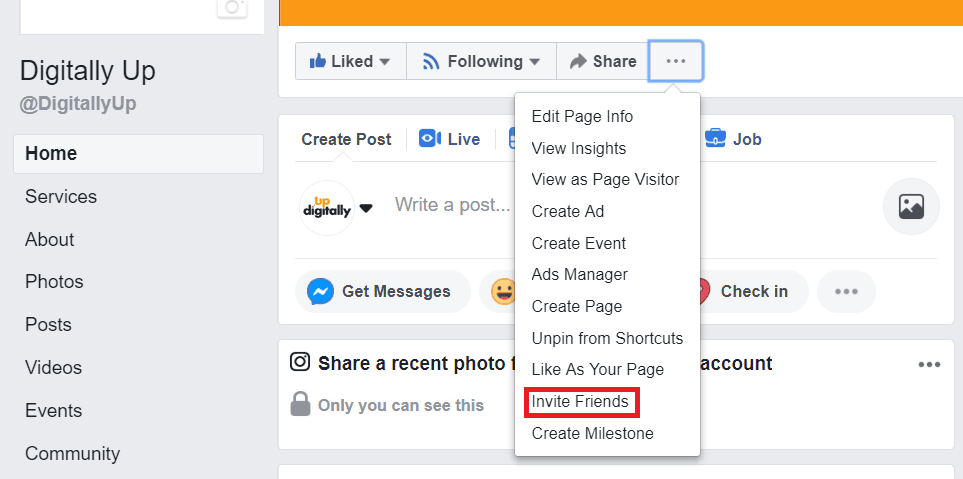
You can choose the option to invite all of your Facebook friends or select the ones you want to send an invite to like your page.
Once they’re invited, a notification will be received to them. Now it’s up to them whether they like your page or not. However, even if only a few of your Facebook friends decide to like your page, it is still good enough to provide an initial base.
Step#5
Next, in the left-hand menu, find and click “About.” In this section, you can add information about your business like telling your readers what your company is all about. Plus, add contact details, email, website and etc.
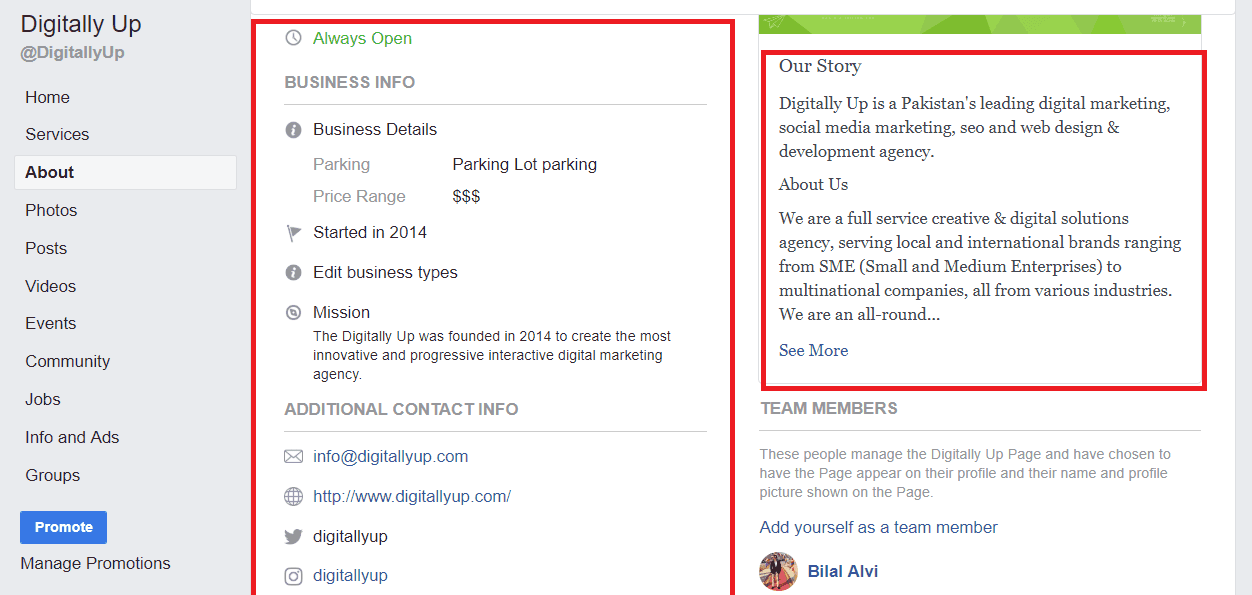
Due to Facebook’s high domain authority, it is common for a business’ Facebook page to rank higher in organic search than their website. So, make sure to include all the necessary information on your Facebook page as it might be the first thing you potential customers look at.
Step#6
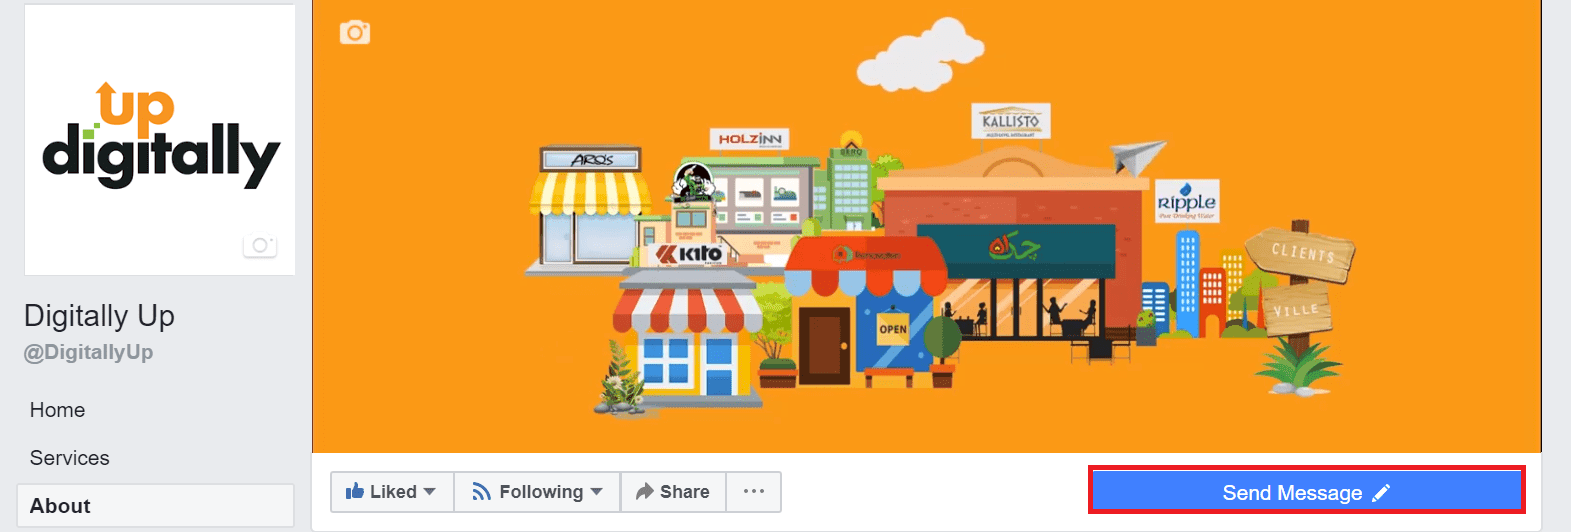
Now it’s time for you to add a ‘button’ to your page, which will appear in the top right-hand of your business page below your cover photo.
This acts as your free Call-to-Action (CTA).
You can click on “Add a Button” option. You can choose any relevant button such as Send Message, Learn More, Shop, or Download. This can help your business to generate more leads and hence increase your sales.
For instance, a clothing company would most likely use the ‘Shop’ option.
We have used the button ‘Send Message’ as you can see from the below image.
Step#7
Congratulations! You’ve made your Facebook Business Page. But this is only the first step to promoting your business on Facebook. You need to keep your page active by engaging with your audience so that you get the most out of this social platform.